
Image Source – Google
If you are a DIY enthusiast, having the right tools is essential to complete any project successfully. One tool that should be in every DIYer's arsenal is a pipe clamp. Pipe clamps are versatile and can be used for a wide range of applications, making them a must-have tool for any woodworking or metalworking project.
If you want to buy clamps for pipes or water truck parts then you can browse this website. In this guide, we will discuss everything you need to know about choosing and using pipe clamps.
Choosing the Right Pipe Clamp
When it comes to choosing a pipe clamp, there are a few factors to consider. The first thing to look at is the size of the clamp. Pipe clamps come in various sizes, so it's important to choose one that will fit your needs. Consider the width and length of the pipe you will be working with and choose a clamp that matches those dimensions.
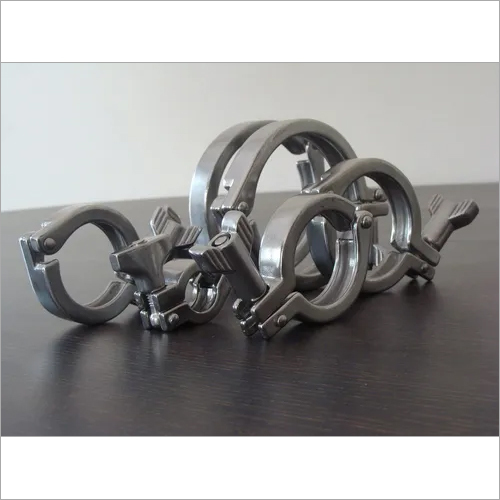
Another important factor to consider is the material of the clamp. Pipe clamps are typically made from either steel or cast iron. Steel clamps are more affordable and lighter in weight, making them a popular choice for DIYers. On the other hand, cast iron clamps are heavier and more durable, making them better suited for heavy-duty projects that require a lot of pressure.
Using Pipe Clamps
Once you have chosen the right pipe clamp for your project, it's important to know how to use it correctly to ensure the best results. Here are some tips for using pipe clamps effectively:
- Prepare the materials: Before using a pipe clamp, make sure your materials are properly prepared. This includes smoothing rough edges, ensuring the surfaces are clean and dry, and applying any necessary adhesive or glue.
- Position the clamp: Place the clamp over the materials you want to join, ensuring that the pipe is centered and parallel to the joint you are making.
- Tighten the clamp: Use the handle or threaded rod to tighten the clamp. Start with a moderate amount of pressure, and then gradually increase it until the materials are securely held together. Be careful not to apply too much pressure, as this can cause damage or deformation to the materials.
- Allow for drying or curing: If you are using adhesive or glue, allow it to dry or cure according to the manufacturer's instructions before releasing the clamp.
- Release the clamp: Once the materials have fully dried or cured, you can release the clamp by loosening the handle or threaded rod.
Tips and Tricks
Here are some additional tips and tricks for using pipe clamps effectively:
- Use cauls: Cauls are strips of wood that are placed between the pipe clamp and the workpiece to distribute pressure evenly and prevent damage to the surface. They can be especially helpful when clamping delicate or fragile materials.
- Consider using parallel clamps: Parallel clamps are a specialized type of pipe clamp that have jaws that remain parallel to each other when tightened. This allows for even pressure distribution and prevents the workpiece from being skewed.
- Invest in pipe clamp accessories: There are various accessories available for pipe clamps, such as pipe clamp blocks and extenders, that can enhance their functionality and make them even more versatile.
- Practice proper safety measures: Always wear protective gear such as safety glasses and gloves when using pipe clamps to prevent accidents or injuries.
In conclusion, pipe clamps are an essential tool for DIY enthusiasts. By choosing the right clamp and using it correctly, you can ensure the success of your woodworking or metalworking project. Remember to consider the size and material of the clamp, and follow the proper techniques for clamping and unclamping. With these tips and tricks in mind, you'll be able to tackle any project with confidence and achieve professional-looking results.